Grain Elevator Designs
Design Services
Helping our clients create efficiency and profitability is what we are all about. Check out our Grain Facilities Designs to see our capabilities.
Facilities Designs
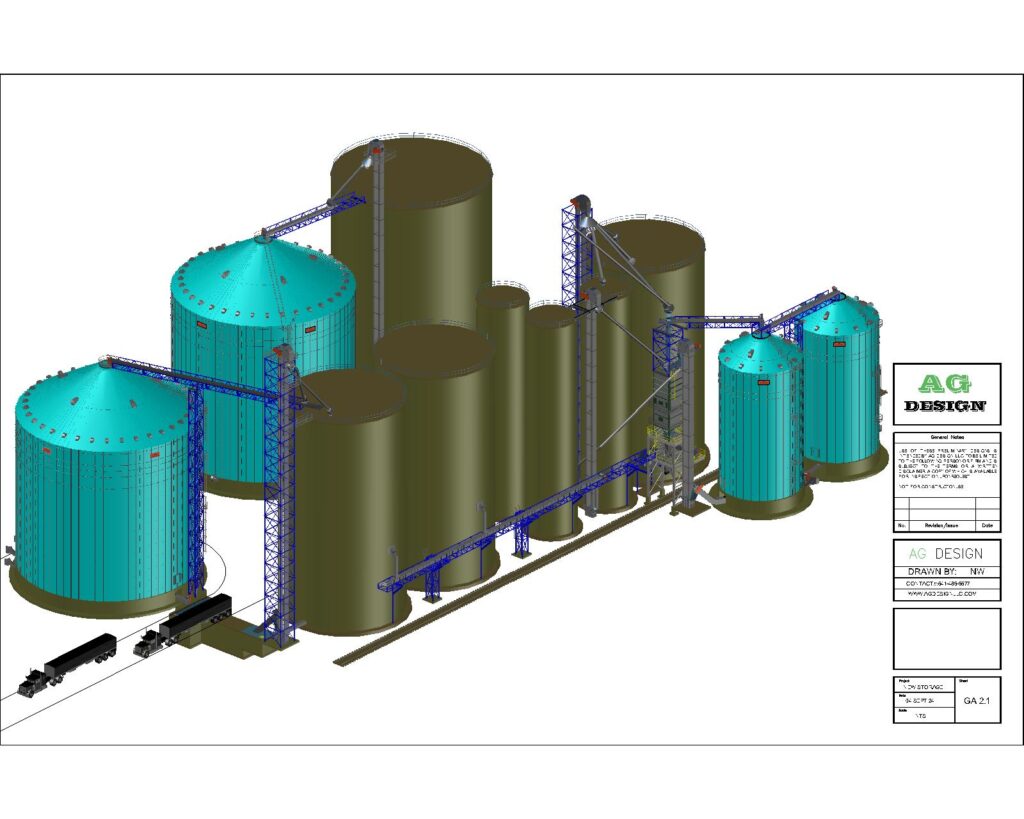
Top Left Design
Mezzaine Structure | 2 large Screw Conveyors 15 Ton Fill System |
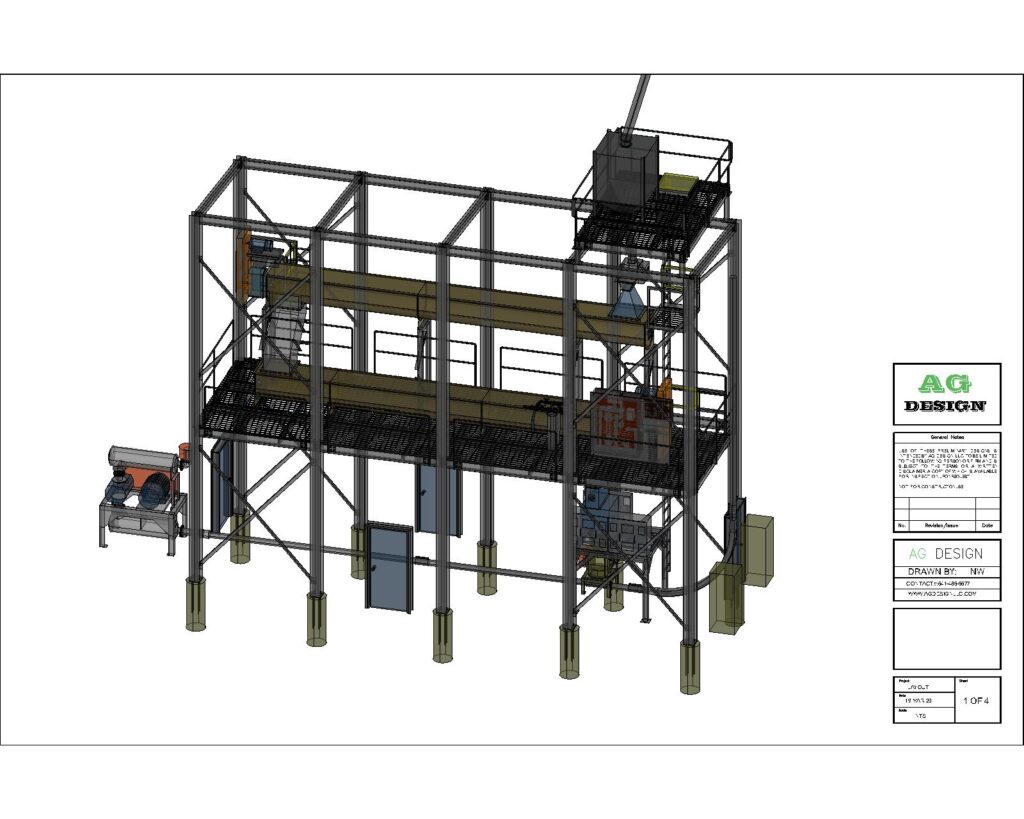
Bottom Left Design
32 bin Micro System | 6 Tote Fill and Hanger System | 10Ton mixer | Receiving Pit
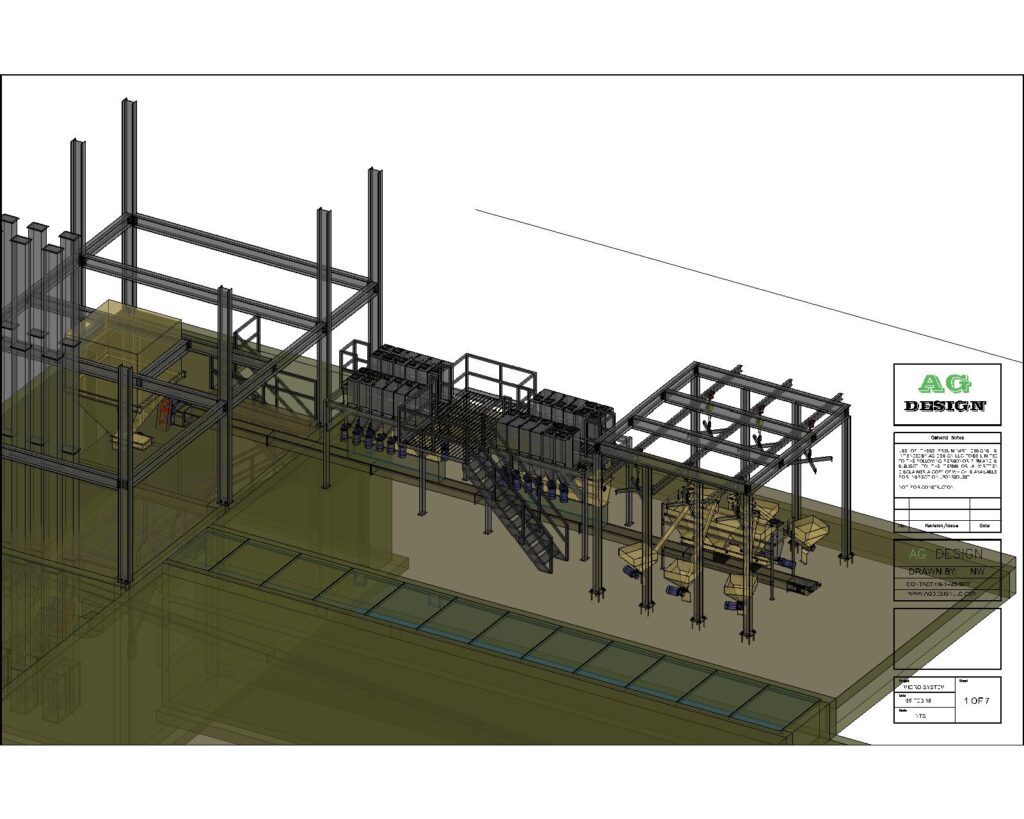
Top Rigth Design
2x 1500 bushel Square Tanks | MBL Seed Conveyors | Switch Back Stairs
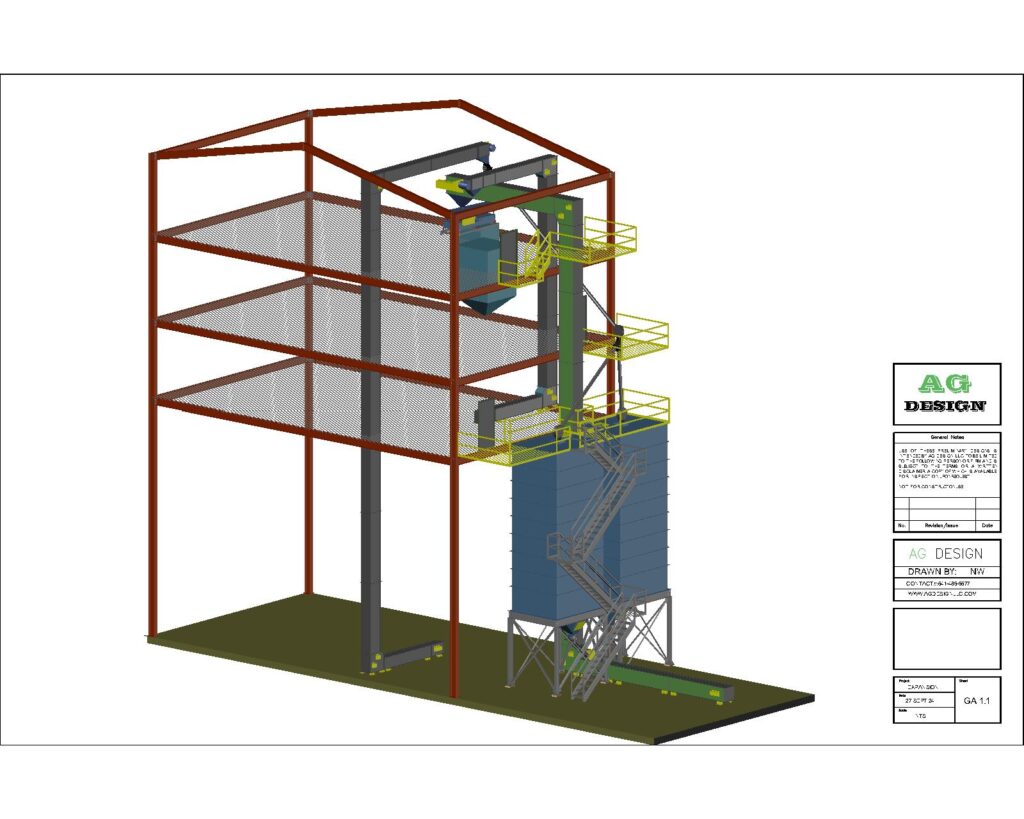
Bottom Right Design
7 Bay Fertlizer Storage l Belt Conveyor | Catwalk & Receiving Tower | Surge Hopper
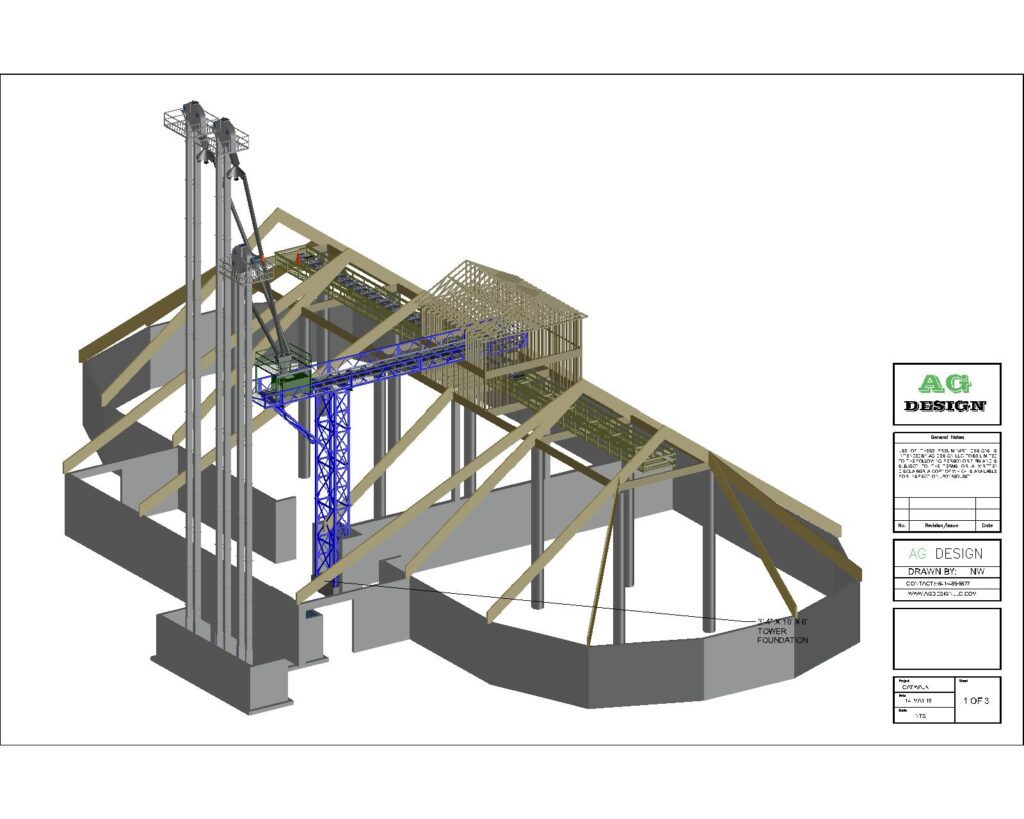
Farm Bin Designs
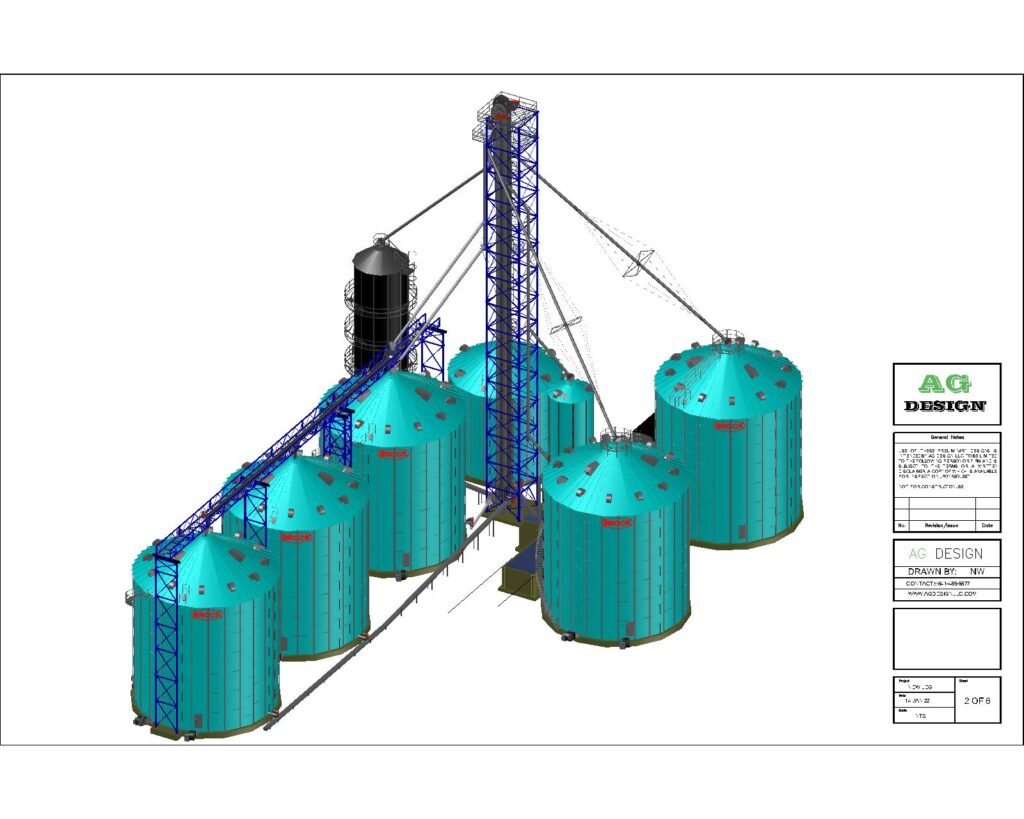
Farmer 1
5 x 48 Dia 80k Bushel Bins, 8k Receiving Capacity, 1100 bushel Pit Capacity
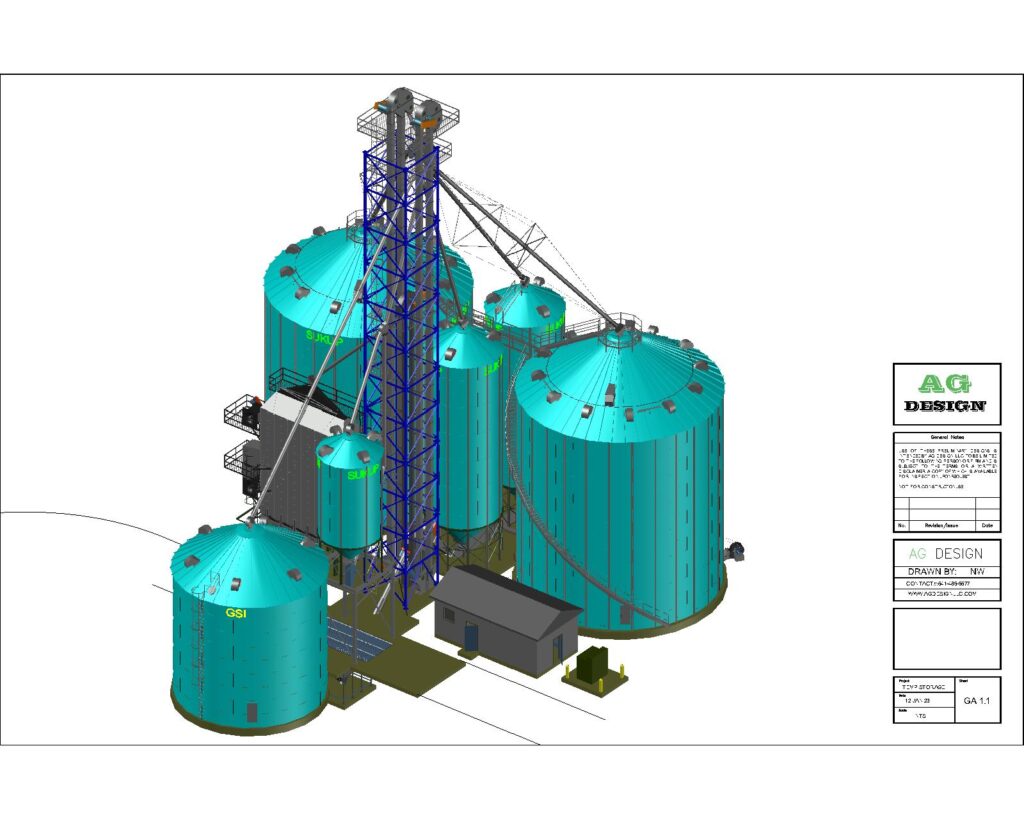
Farmer 2
2 x 48 Dia 85k Bushel Bins, 2 x 18 Dia Wet Hopper Tanks, 8K Bushel Receiving, 1K Bushel Drop in pit.
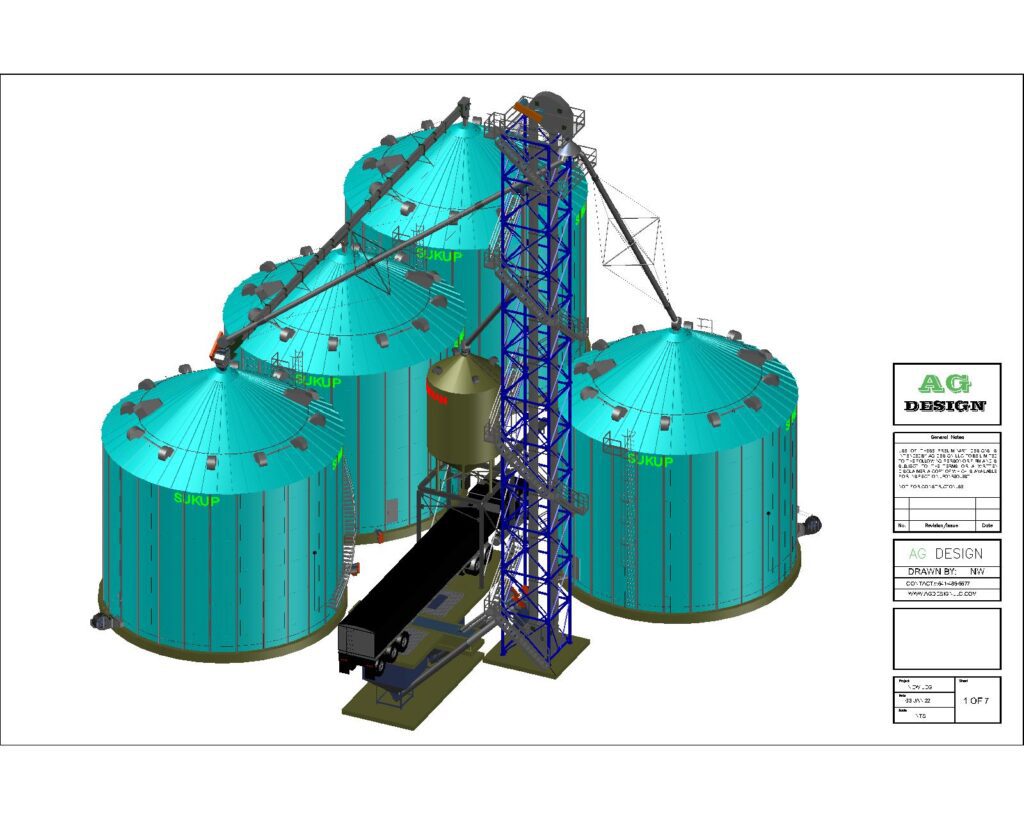
Farmer 3
4 x 48 Dia 48k Bushel Tanks, 2 x 500 Bushel Dump Pits @ 10k BPH capacity, 10k Receiving System, 3k Bushel Overhead
Farmer 4
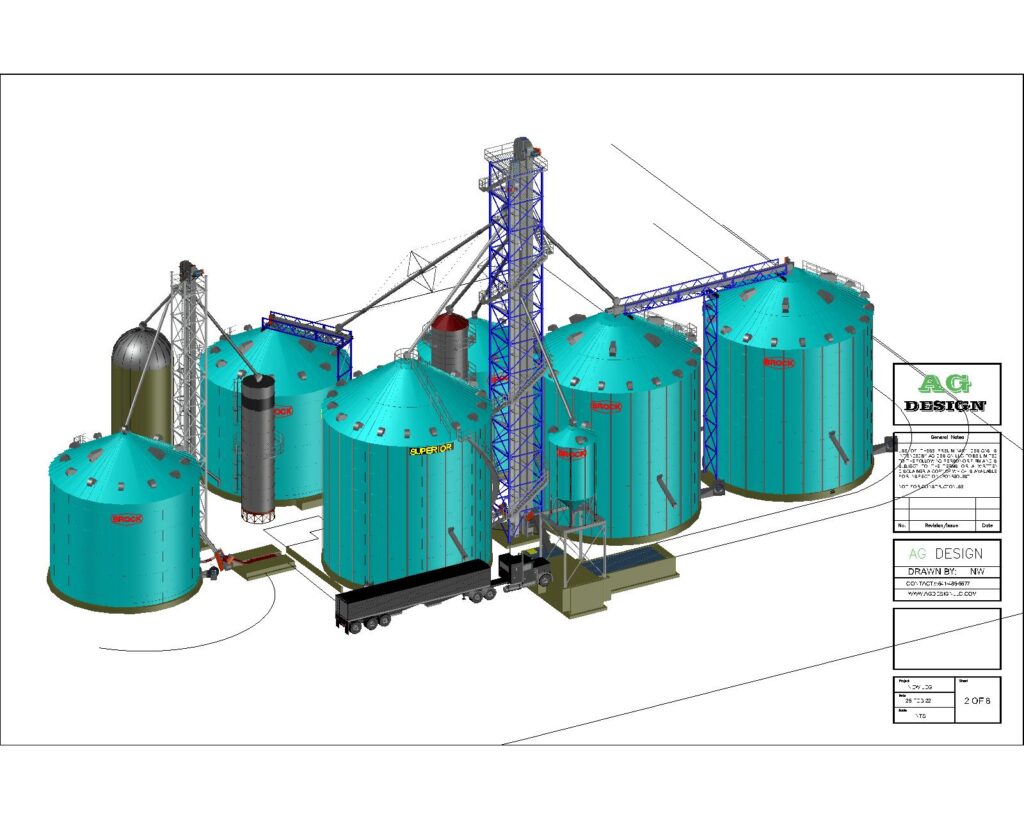
Expansion on existing site, add 2 x 54 Dia 150k Bushel Tanks, 2k BPH Tower Dryer, 36 Dia 35k Wet Tank, 10k BPH Receiving System

Top Left Design
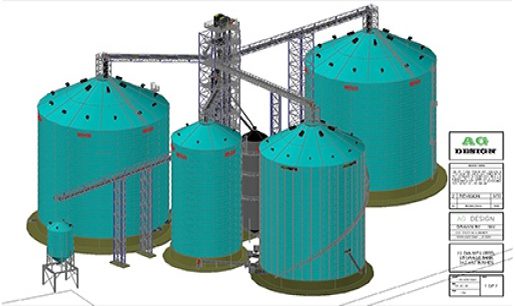
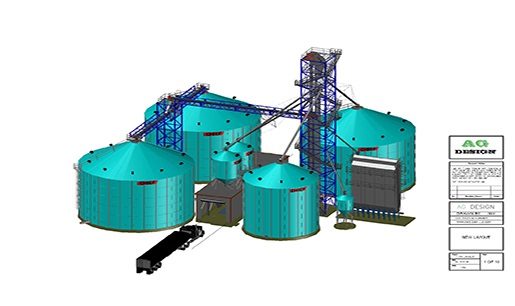
60 Dia 113K Bushel Storage Bin | 42 Dia 46K Wet Storage | 10K BPH Receiving System | 2x Future 40 Dia 46K Bushel Storage Each | 2x2,600 Bushel Overhead Loadout Tanks
Top Right Design
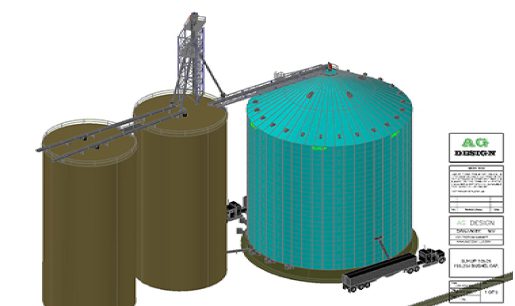
60 Dia 196K Bushel Storage | 3,300 Bushel Overhead Storage Tank | 7,500 Bushel Receiving System | 7,500 Bypass Inlet Drive Over Pit
Bottom Left Design
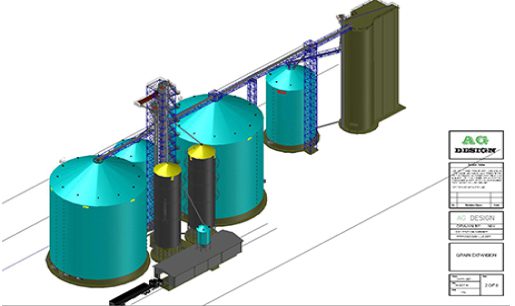
60 Dia 168K Bushel Storage | 5K Reclaim System | Integrated into Existing Facility
Bottom Right Design
10K BPH Pit Conveyor | 1,500 Bushel Gravity Receiving Pit | Integrated into Existing Facility
Ground Pile Designs
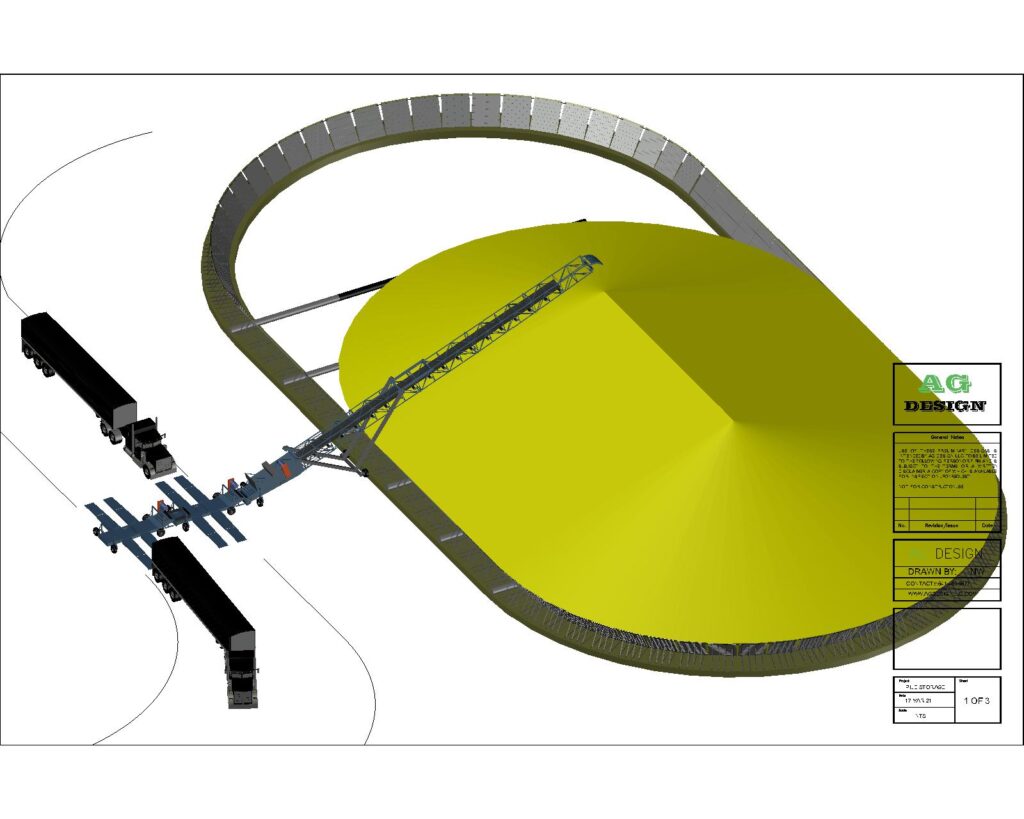
Pile 1
25k BPH stadium pile loader
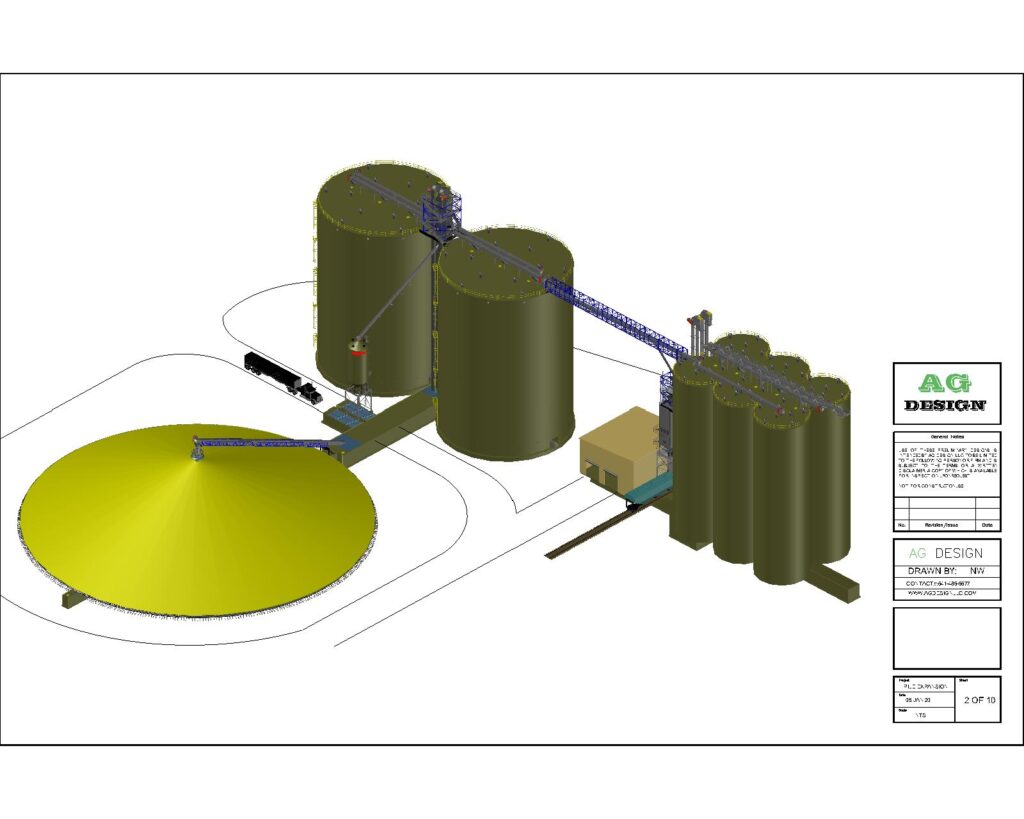
Pile 2
1 Million Bushel Ground Pile, 265’ Dia, Feed by 25K BPH Incline Conveyor
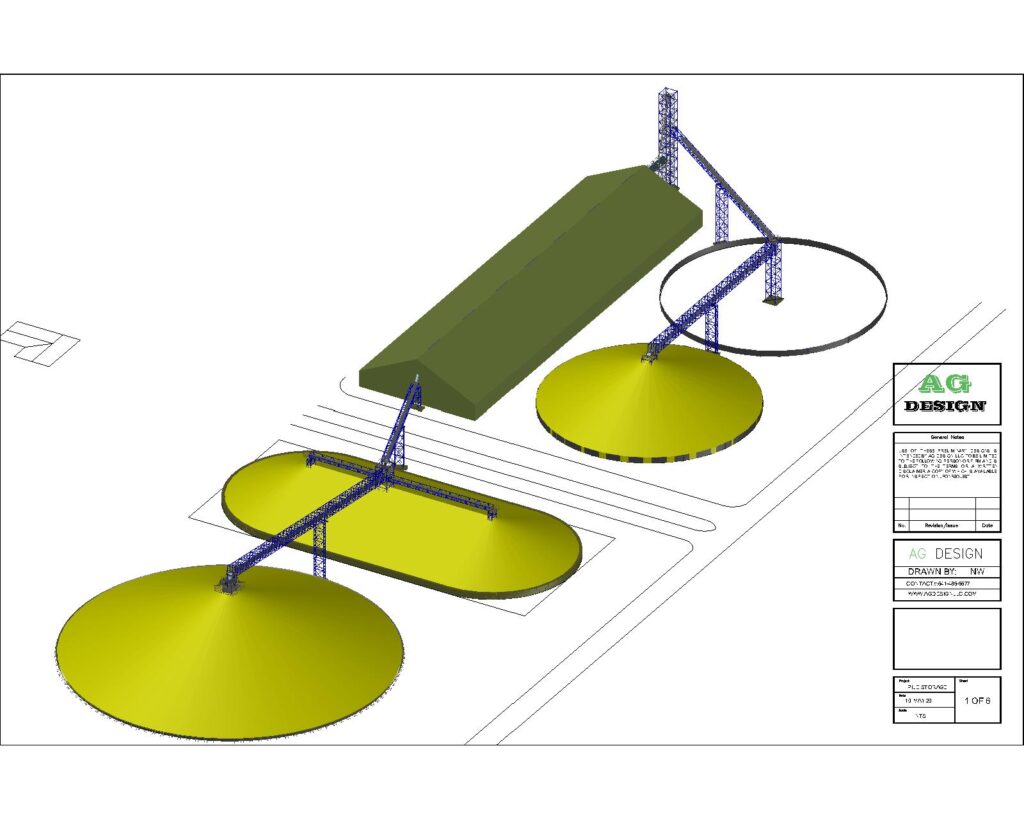
Pile 3
2 x 528k Ring Piles, 1 – 775k Stadium Pile, 1 – 1.5 Million Temp Storage Pile, all feed by 25k BPH Fill System

Commercial 4
2 x 135 Dia 1.3 Million Bushel, upgraded catwalk 20k BPH Fill System, and 10k Reclaim systems.
Top Left Design
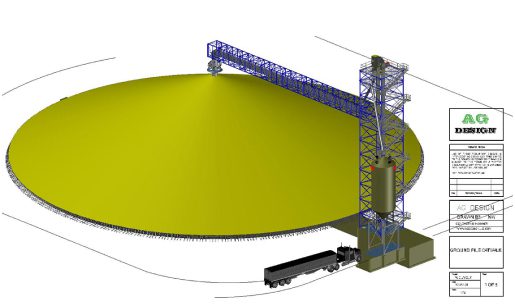
265′ Dia Pile with Center Fill Tower Est. 1 Million-Bushel Capacity | 20K BPH Fill System | 20K BPH Reclaim System Inside Tunnel Under Pile | 6K Bushel Overhead Storage Tank
Bottom Right Design
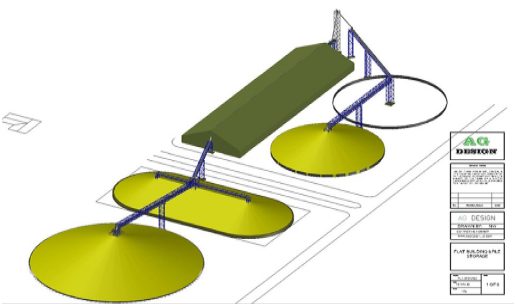
2x202′ Dia Pile Rings Est. 528K Bushels Each | 305′ Dia Pile Est. 1.5-Million Bushel Pile Storage with Center Air Tower | 20K BPH Fill System | Tower/Catwalks Support Throughout
Grain Elevator Layouts
Top Left Design
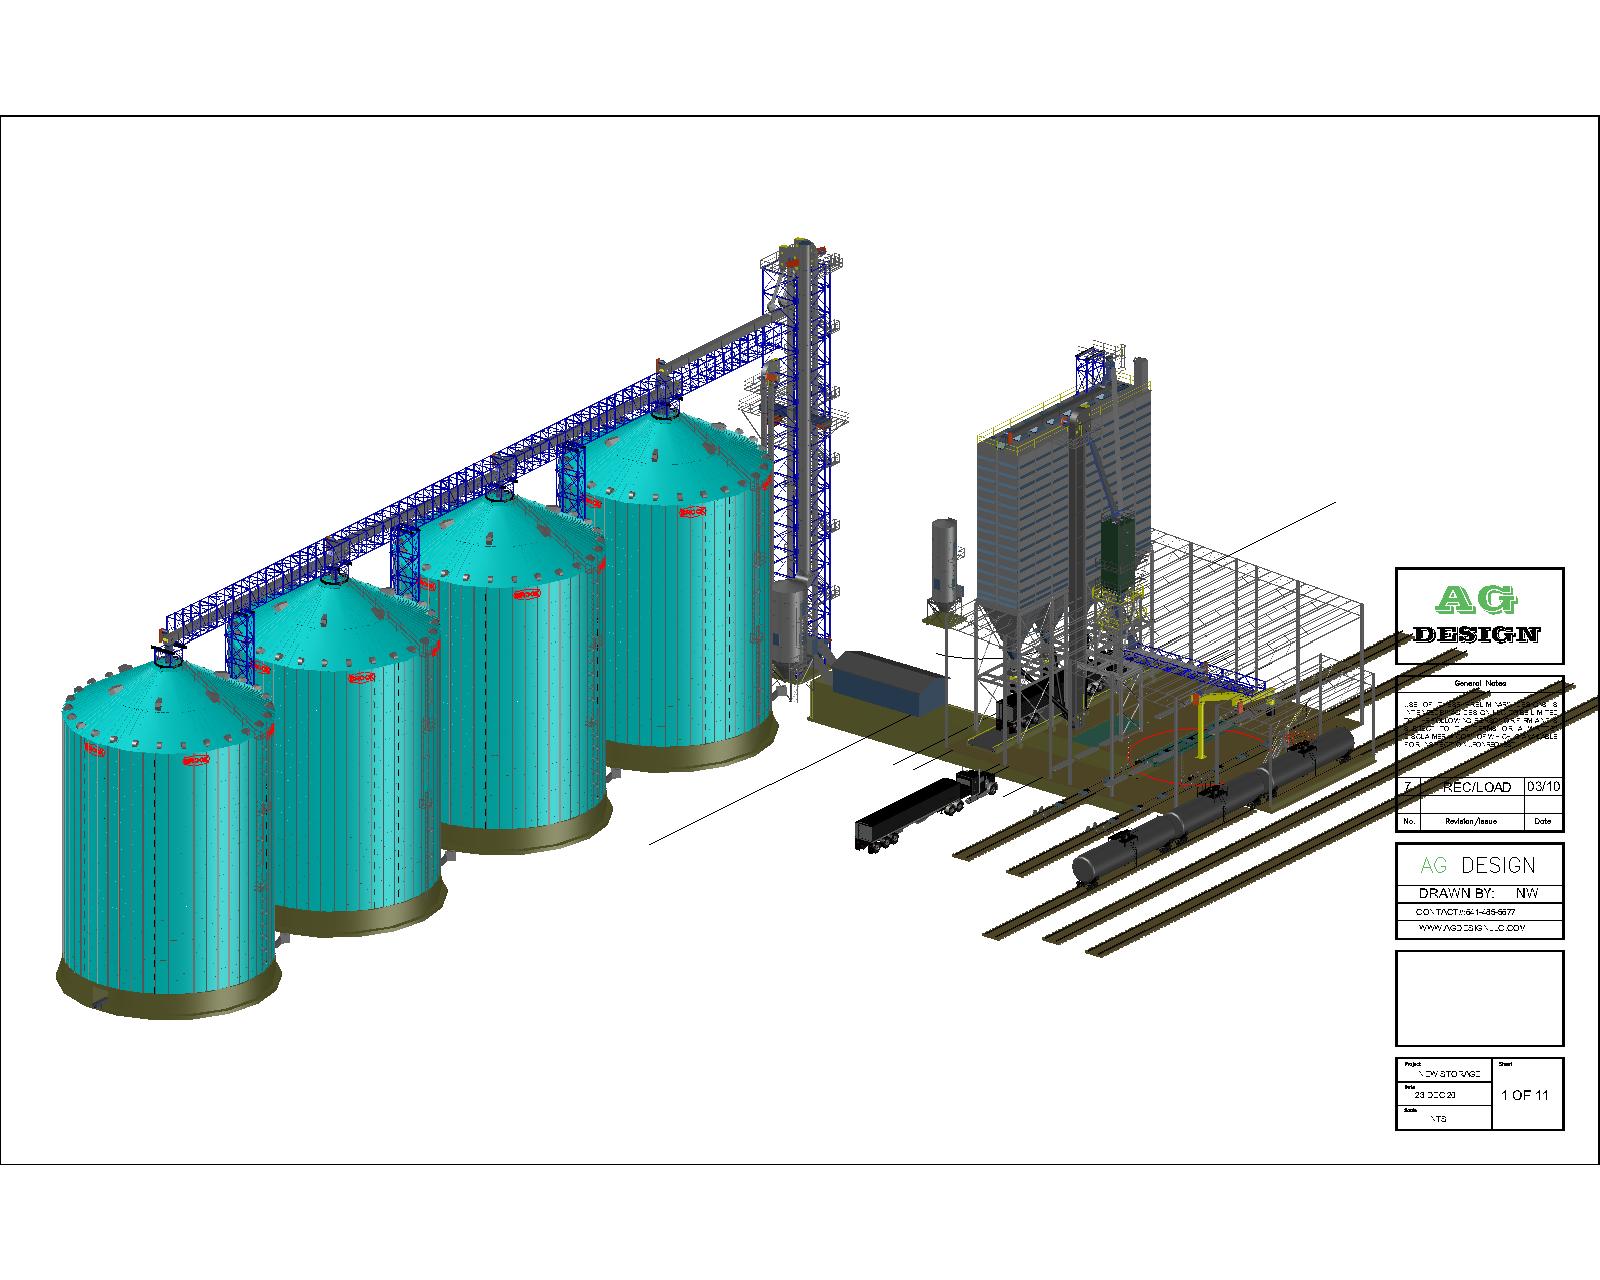
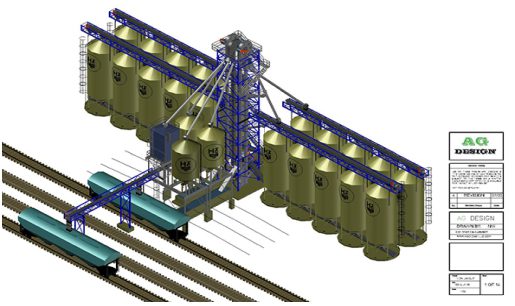
4x75 Dia 325K Bushel Capacity Each | 20K BPH Fill System | 45′ Ingredient Tanks | Rail Receiving & Loadout | 16 Bin Overhead loadout | Tanker Car Loadout
Top Right Design
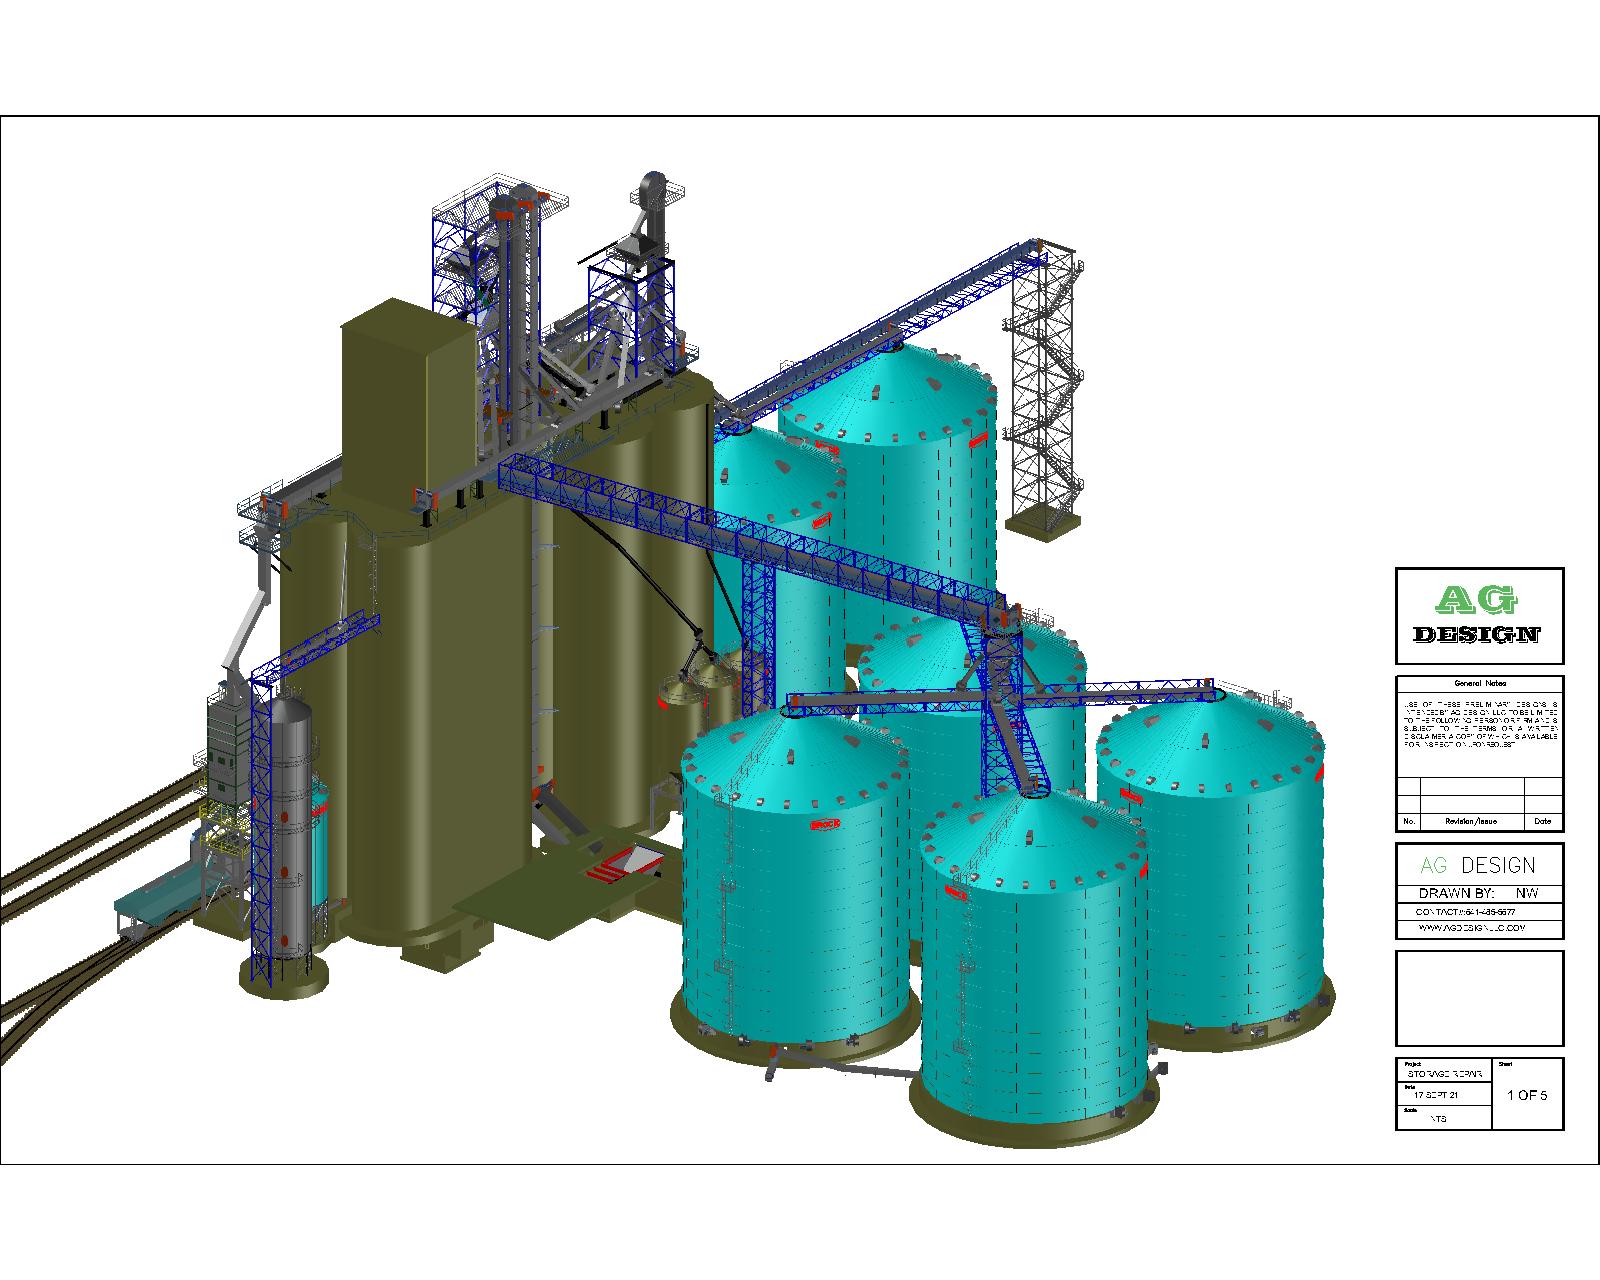
3x 25K BPH Receiving Pits | 80K BPH Rail Loadout | 4x 78Dia 350K Bushel Steel Storage Tanks
Bottom Left Design
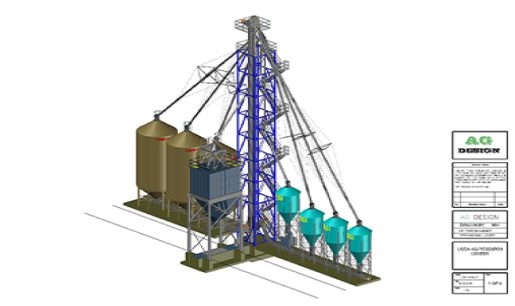
Commodity Storage Facility | 3K Receiving and Reclaim Systems | Square Bolted Overhead Storage Tanks | Roller Mill for Different Commodity Use
Bottom Right Design
Mezzanine Structure | 2x Large Screw Conveyors | Roller Mill | Blower System
Top Left Design
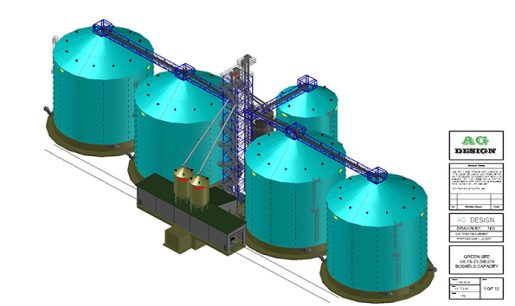
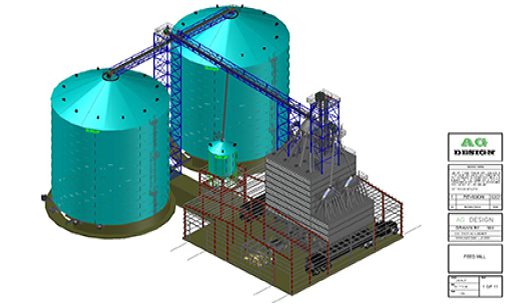
2x75 Dia 325K Bushel Capacity Each | 10K BPH Fill System | 45′ Ingredient Tanks | Scaled Hoppers for Mixing | Twin Shaft Mixer | 24 Bin Micro System
Top Right Design
Mezzanine Structure | 2x Large Screw Conveyors | Roller Mill | Blower System
Bottom Left Design
20x6,000 Bushel Smooth Wall Commodity Tanks | 8,500 Receiving Legs and Round Bottom Fill System | Truck and Rail Overhead Loadout System | 8,500 Round Bottom Reclaims Systems | 10K Rail Scale
Bottom Right Design
Commodity Storage Facility | 3K Receiving and Reclaim Systems | Square Bolted Overhead Storage Tanks | Roller Mill for Different Commodity Use
Grain Loop Designs
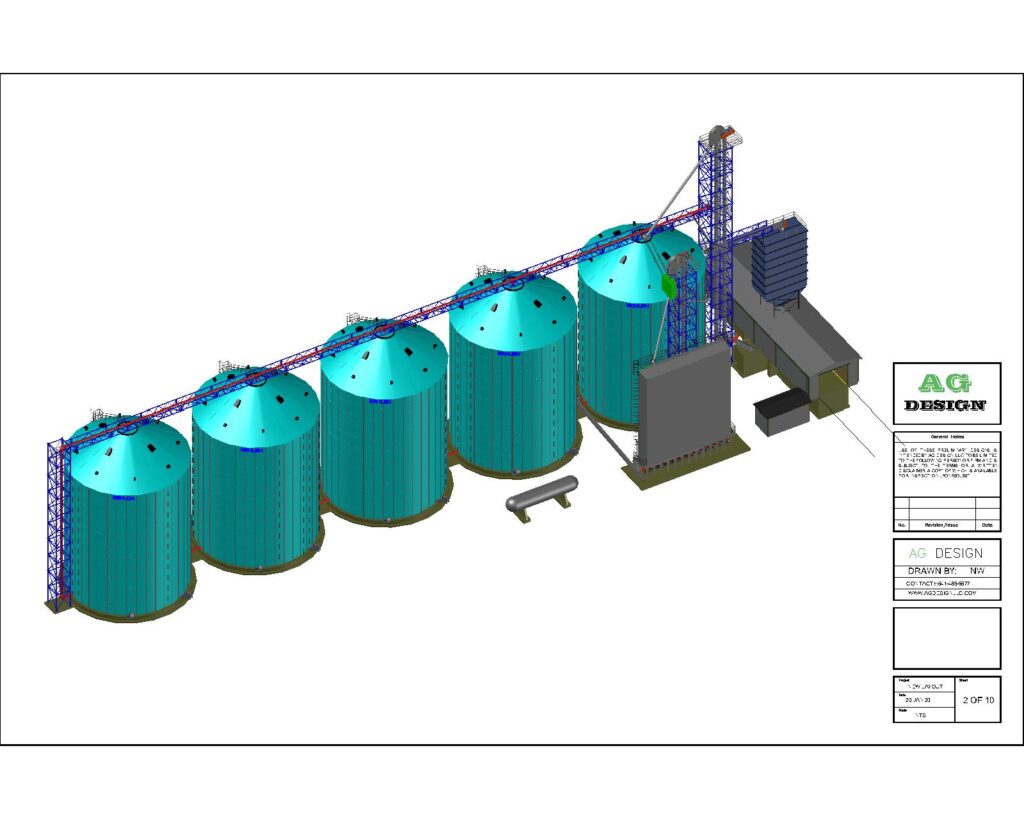
Loop 1
10k BPH Loop System, 5 x 205k Bushel Tanks, 1100 Bushel Drive Over Pit, 2 x 5K Bushel Overhead Loadout Tanks
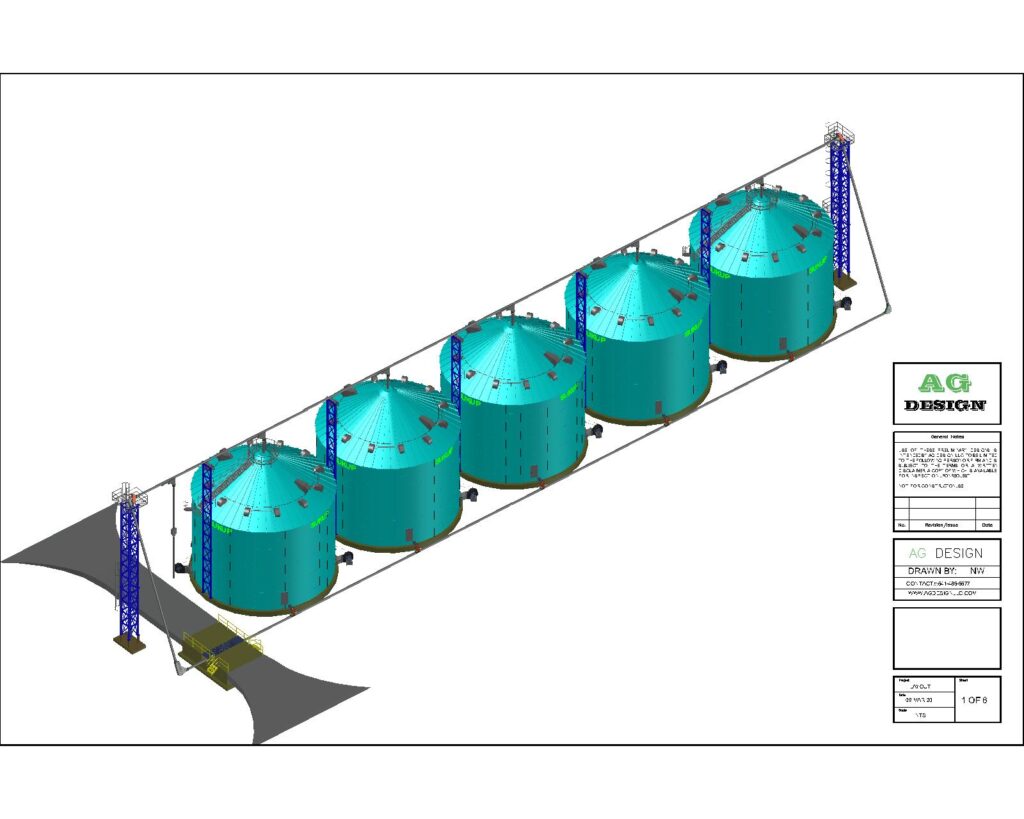
Loop 2
10” 6k BPH Loop System, 5 x 48 Dia 56k BPH incorporated with a Drive Over Bypass Inlet Pit
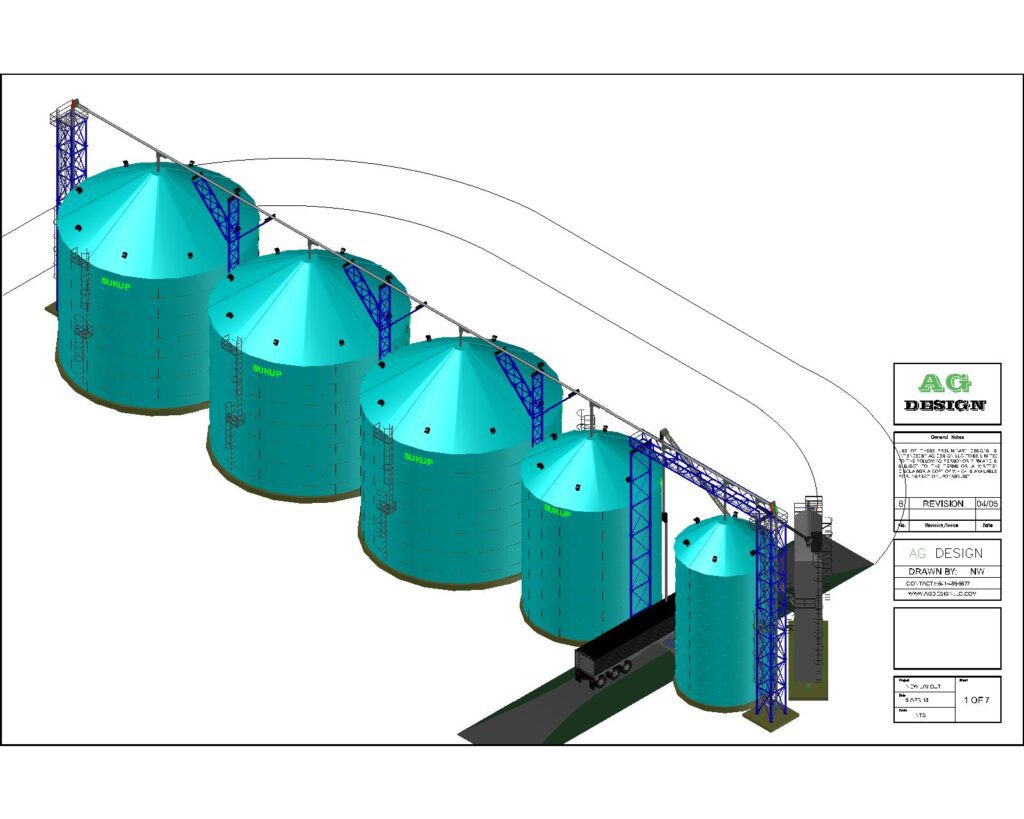
Loop 3
10” 6k BPH Loop System, 3x 60 Dia 145k Bushel Holding Tanks, 42 Dia 60k Bushel Wet Tank

Loop 2
10” 6k BPH Loop System, 5 x 48 Dia 56k BPH incorporated with a Drive Over Bypass Inlet Pit
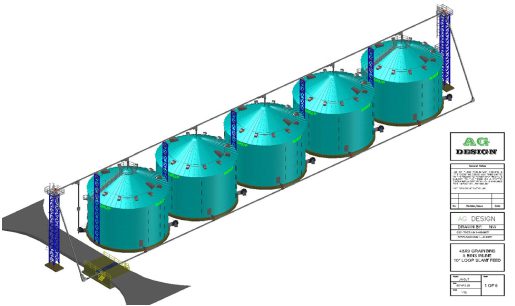
Right Design
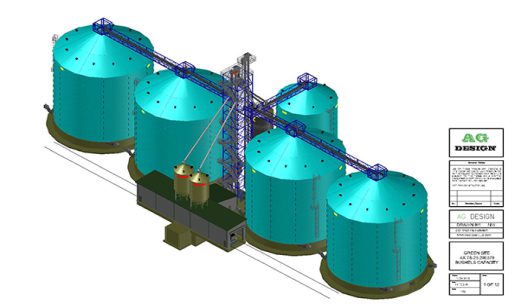
5x60 Dia 205K Bushel Storage Each | 12″ Commercial Loop System | 12K BPH Receiving Pit Conveyor | Scale-In, Dump, and Scale-Out | Square Overhead Storage Loadout Tanks
Left Design
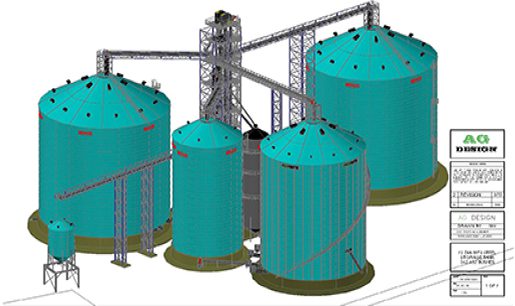
6x48 Dia 56K Bushel Tanks Each | 10″ Loop System 6K BPH Capacity | Drive Over Dump Pit | 3,300 Bushel Overhead Loadout Storage Bin | 479 Site Location Layouts | 12 States and 4 Canada Provinces
Commercial Grain Elevator Layouts
Commercial 1
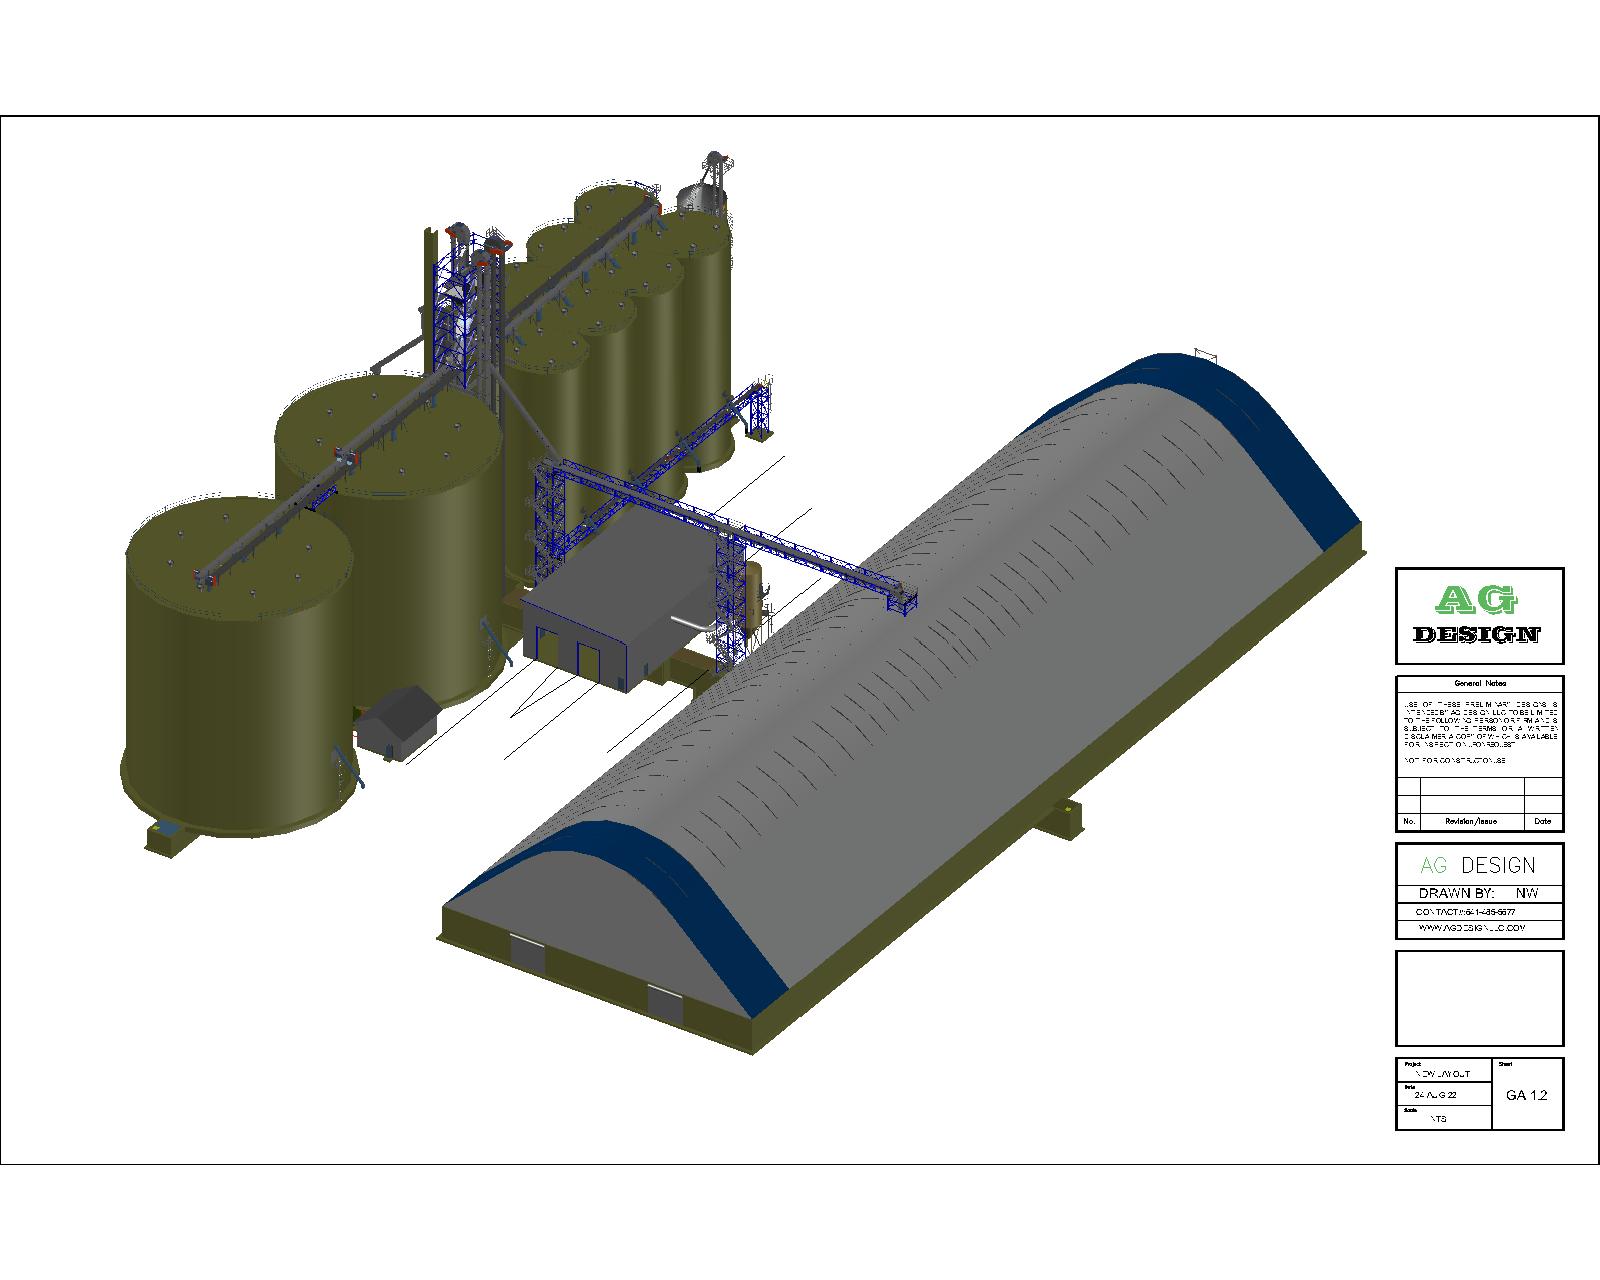
5 million Bushel Silo Storage, 3.5 Million Bushel Hoop Storage, 2 X 25k BPH Receiving Pits, 60k BPH Rail Loadout Scale
Commercial 2
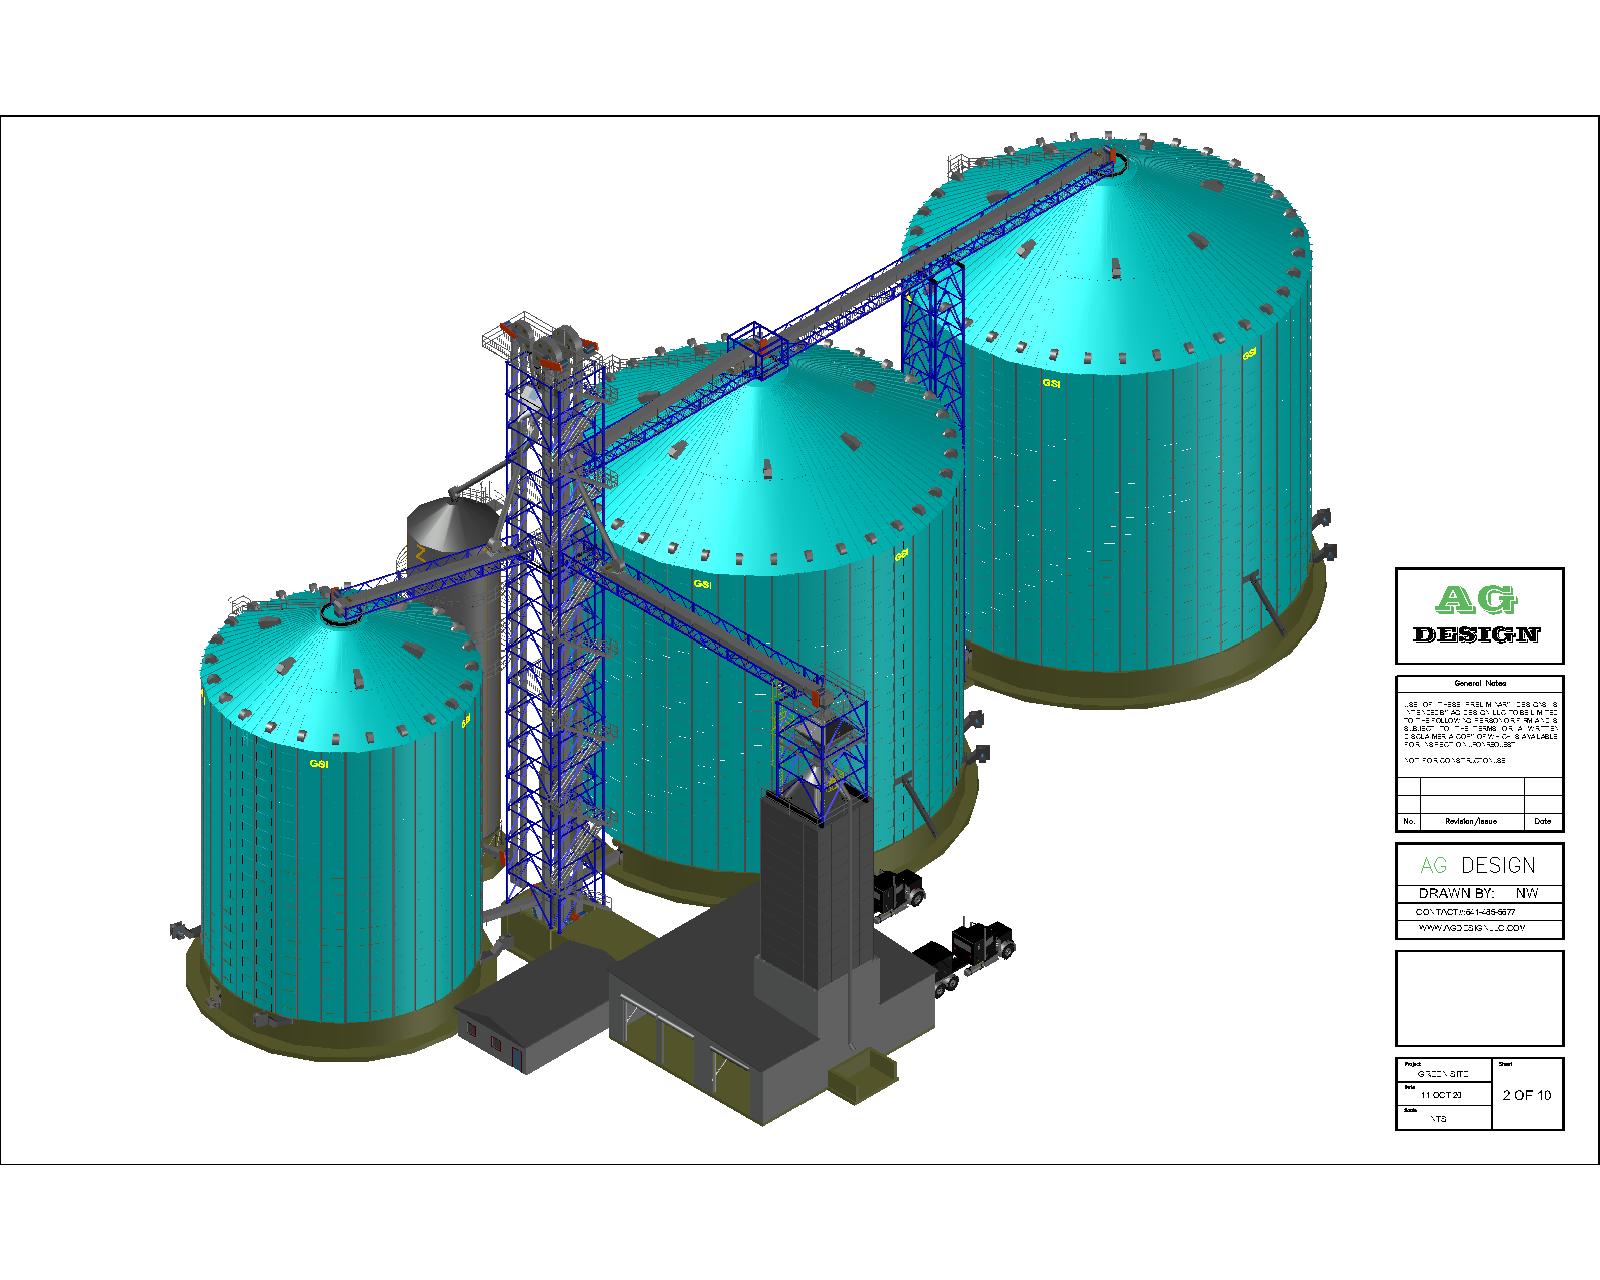
2 x 10⁵ Dia 750k Bushel Holding Tanks, 72 Dia 315k Wet Holding Tank, 6k BPH Tower Dryer, 20k BPH Receiving and Fill, 10k BPH Reclaim, 4-5k Bushel Overhead Loadout Tanks
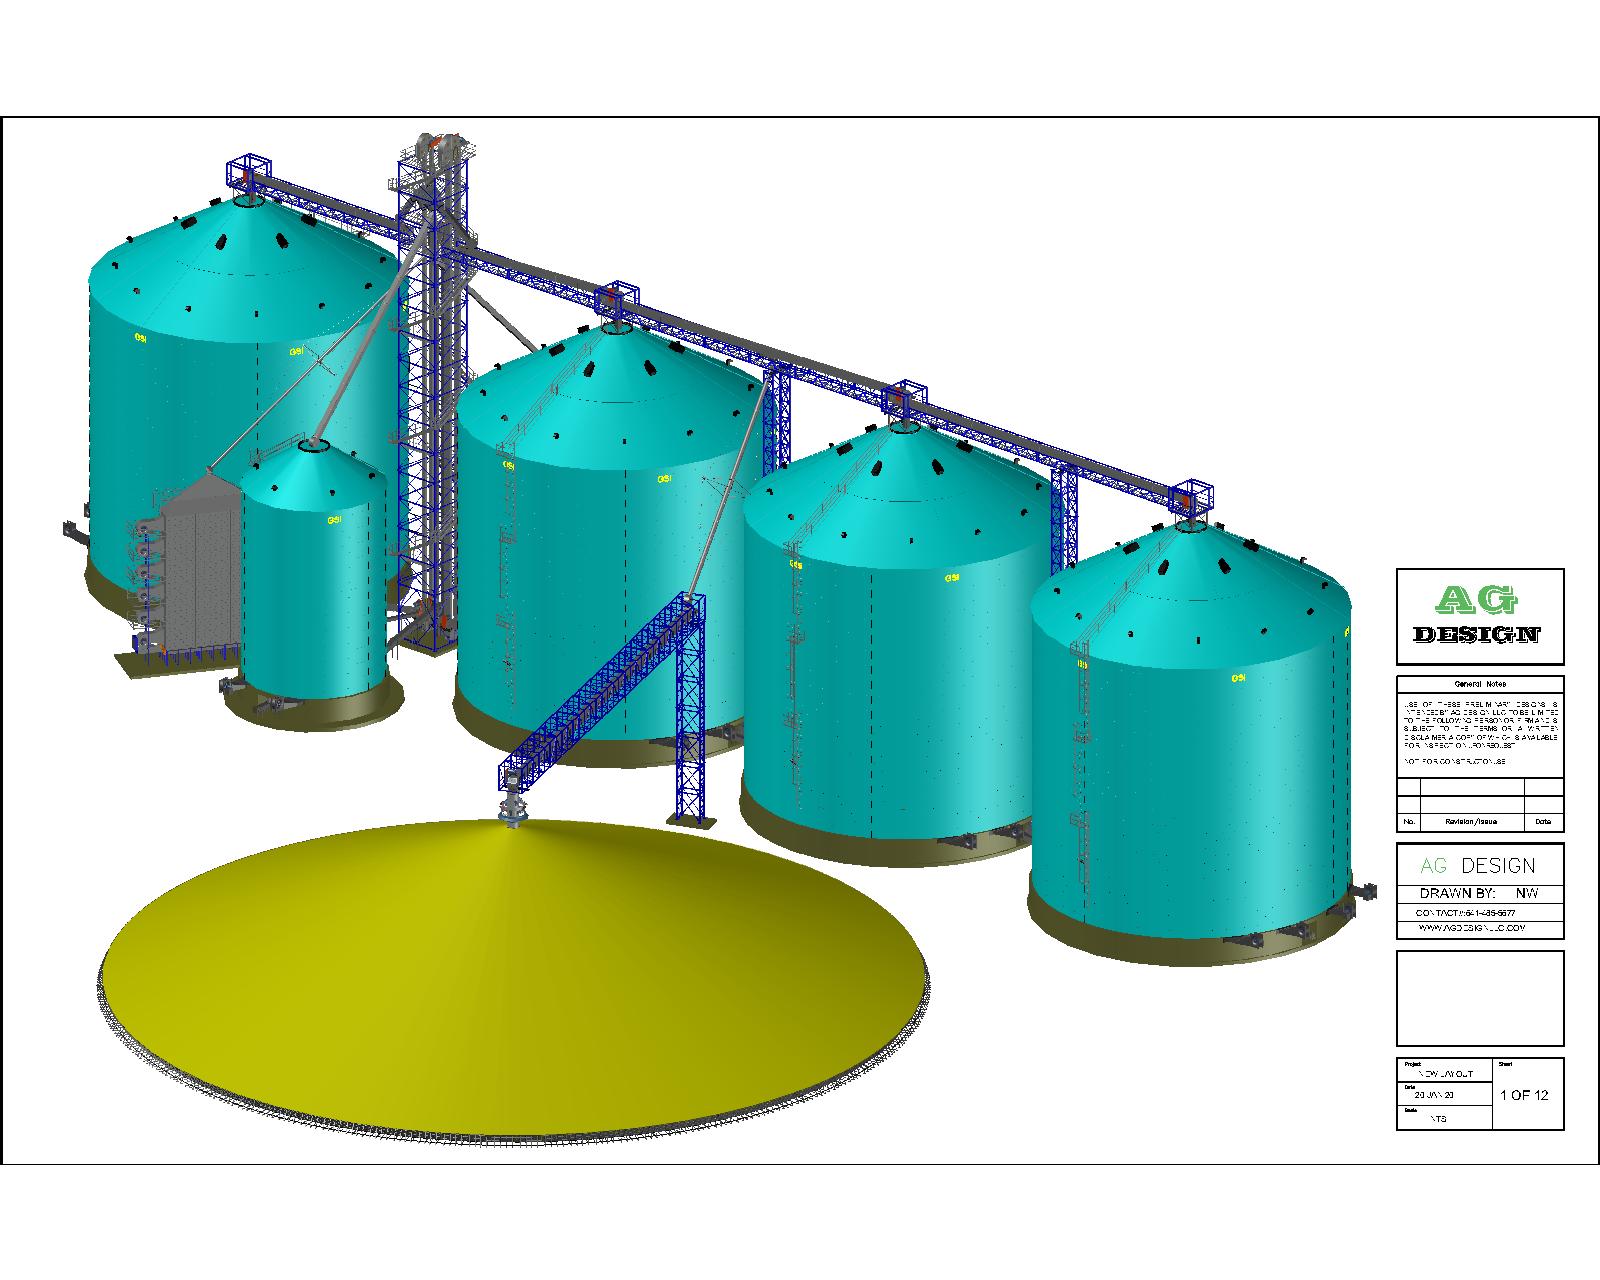
Commercial 3
4 x 10⁵ Dia 770k Bushel holding tanks, 48 Dia 110k Wet Bin, 1 Million Bushel Pile Temp Storage, 20k BPH Receiving Leg, 10K Reclaim Systems
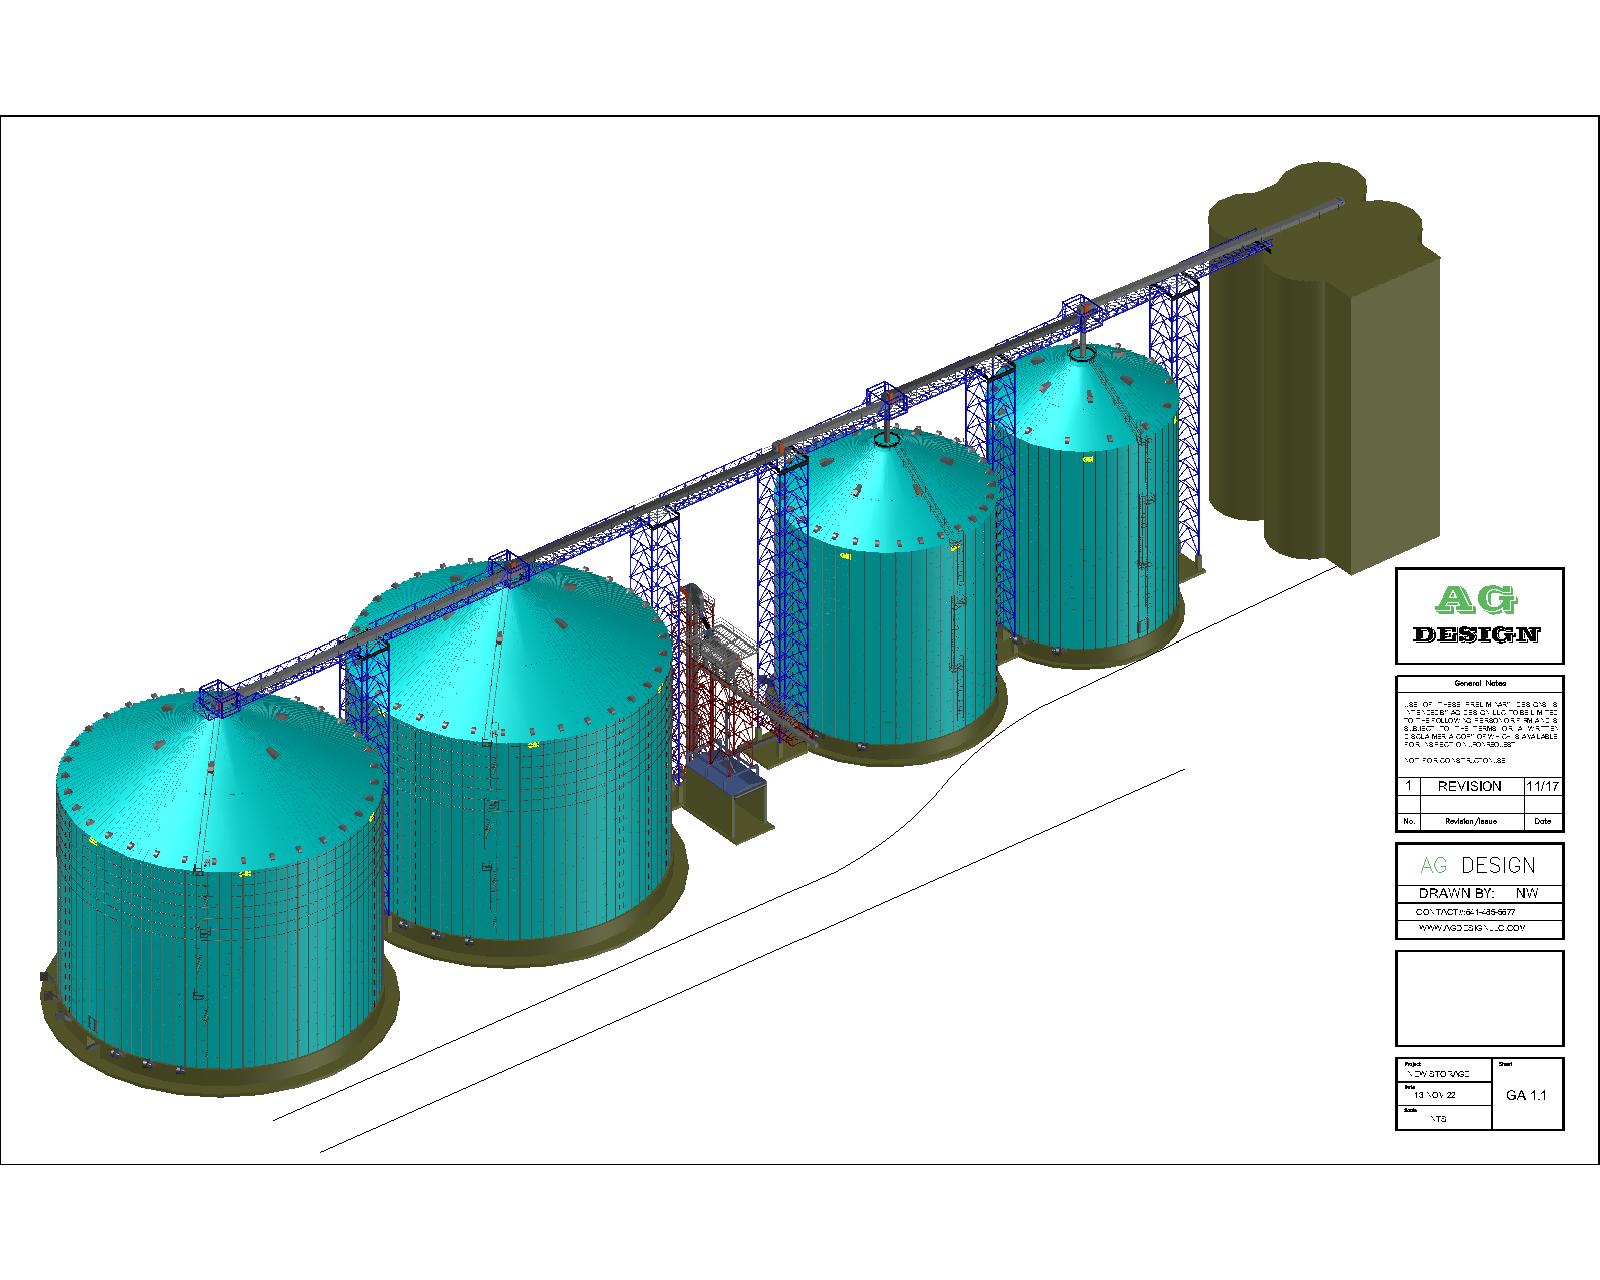
Commercial 4
2 x 135 Dia 1.3 Million Bushel, upgraded catwalk 20k BPH Fill System, and 10k Reclaim systems.
